How to Prepare Your Home for Flooring Installation: A Room-by-Room Checklist
A little preparation before your installation crew arrives saves time, protects your belongings, and helps the project go smoothly. Here is exactly what to do.
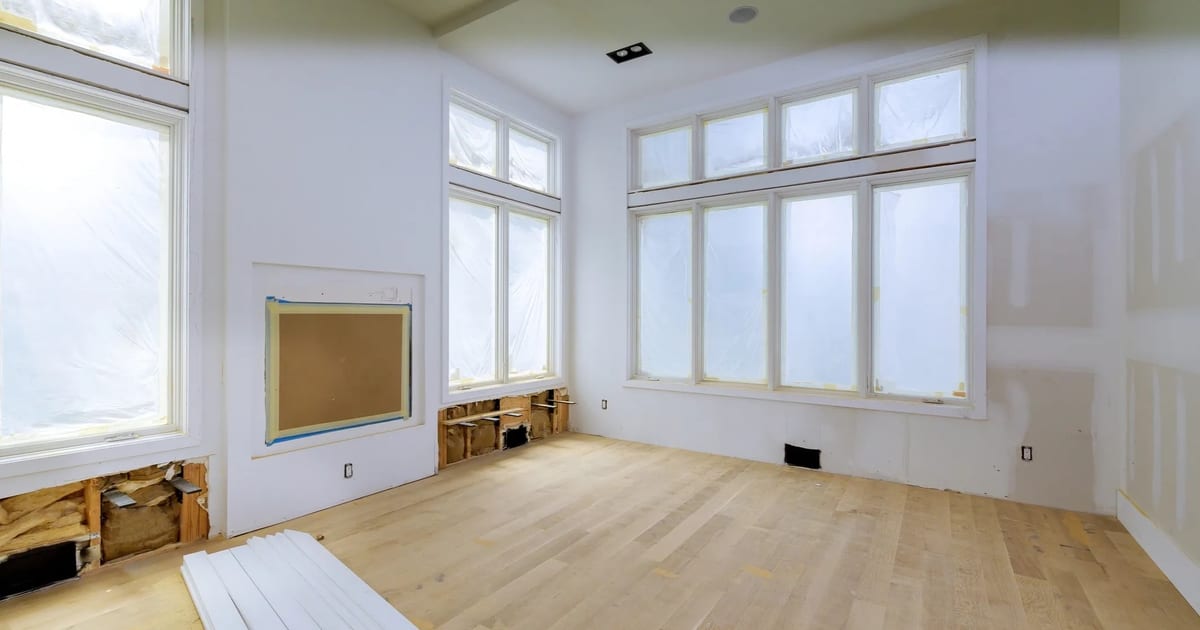
The day your new floor goes in is an exciting one — but a little preparation beforehand makes the whole project go more smoothly, protects your belongings, and helps your installation crew work efficiently. Here is exactly what to do before the crew arrives.
Before Installation Day
1. Acclimate Your Flooring Materials
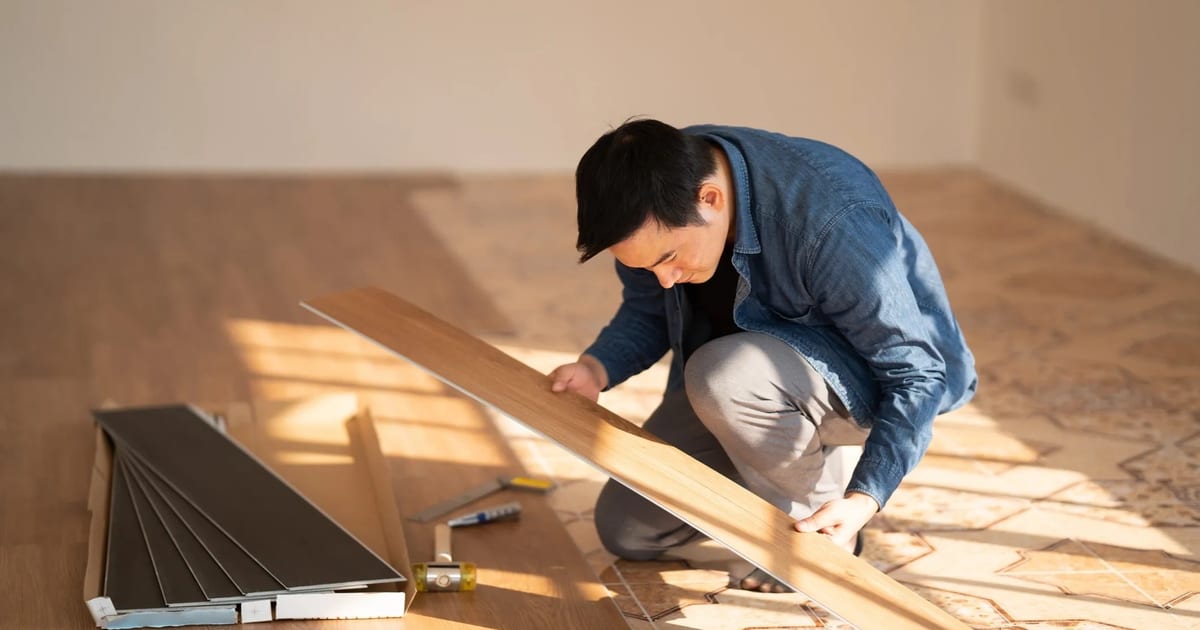
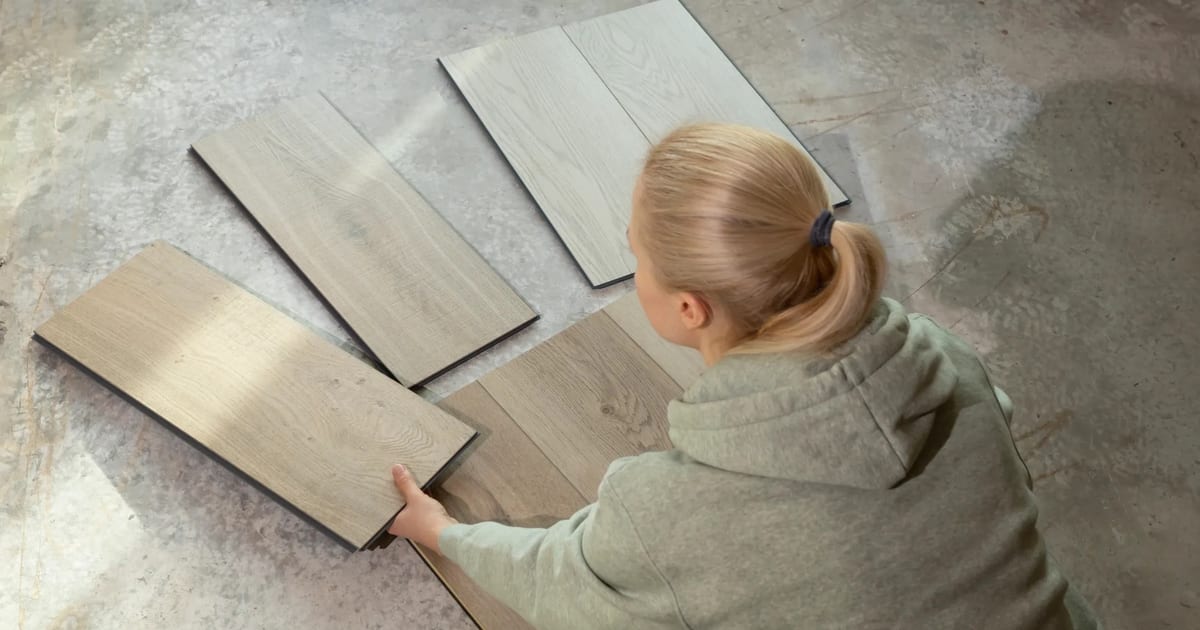
Hardwood and engineered hardwood need to acclimate to your home's temperature and humidity before installation. This means the boxes of flooring need to sit inside your home — not in the garage or on the porch — for a minimum of 3–5 days before installation begins.
Your installer will typically arrange delivery in advance for this reason. If you are coordinating delivery yourself, confirm the acclimation period with your installer and plan accordingly.
LVP and laminate have shorter or no acclimation requirements, but it is still good practice to bring them inside 24 hours before installation.
2. Confirm Your Subfloor Is Ready
Your installer will assess the subfloor during the estimate, but there are things you can do to help:
- Clear the area so the installer can inspect the subfloor before installation day
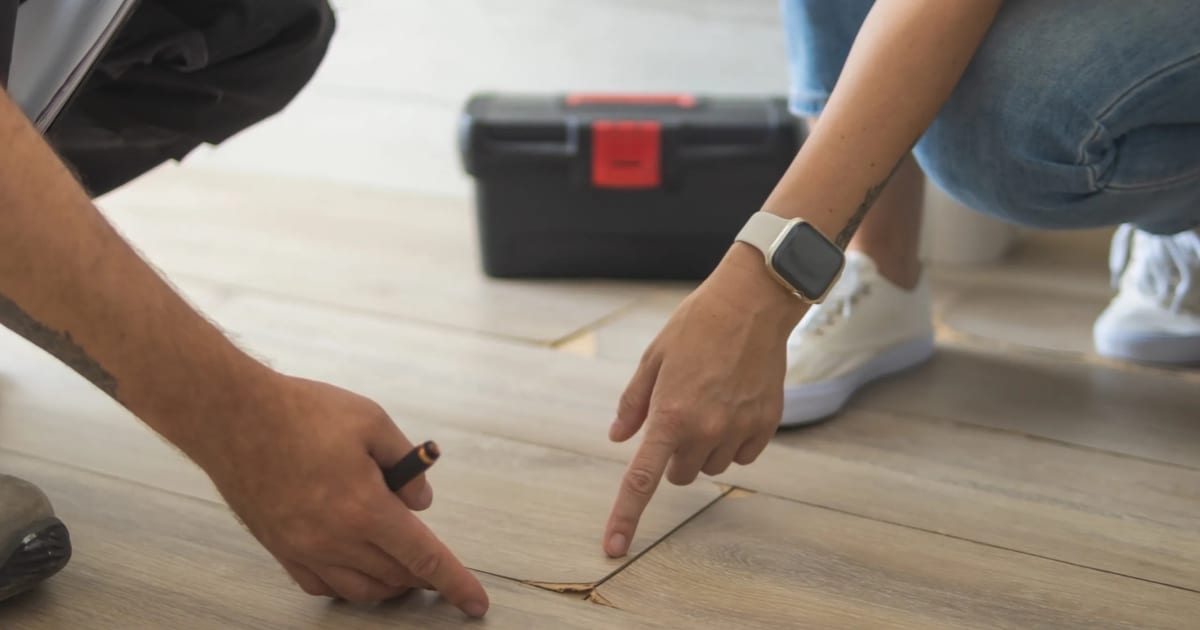
- Note any squeaks and point them out — loose subfloor panels should be screwed down before the new floor goes over them
- Check for moisture if you have a concrete slab — your installer may recommend a moisture test or vapor barrier
3. Arrange for Furniture Removal
Most flooring installers will move standard furniture for a fee, or you can clear the room yourself to save money. Either way, confirm the plan in advance.
Items you should move yourself regardless:
- Electronics (TVs, computers, stereo equipment)
- Lamps and fragile items
- Artwork and wall hangings in the room
- Items stored in closets if the closet floor is being done
- Plants
Items that typically require professional movers or special handling:
- Pianos (require a piano mover — do not attempt to move on your own)
- Pool tables (must be disassembled and reassembled by a professional)
- Large aquariums
- Built-in cabinetry (stays in place; installer works around it)
4. Protect Adjacent Areas
Flooring installation — especially hardwood sanding and refinishing — generates dust and debris. Before the crew arrives:
- Close doors to rooms not being worked on
- Cover HVAC vents in the work area with plastic sheeting and tape (dust can travel through ductwork)
- Remove or cover items in adjacent rooms that are sensitive to dust
- Protect stair railings and banisters with moving blankets or cardboard if the staircase is near the work area
5. Make a Plan for Pets and Children
Installation involves power tools, sharp materials, adhesives, and finish products that are not safe for children or pets. Plan to keep them out of the work area for the entire installation period — and for 24–48 hours after the final finish coat if you are refinishing hardwood.
If you have a dog that is anxious around strangers or power tools, arrange for them to stay elsewhere on installation day.
6. Confirm Parking and Access
Your installation crew will arrive with a truck or van carrying flooring materials, tools, and equipment. Make sure there is:
- Clear parking close to the entrance they will use
- A clear path from the vehicle to the work area (move cars, bikes, or other obstacles)
- Easy access to the front door or entry point — unlock gates, disable alarm systems, and let your neighbors know if the crew will be working near a shared driveway
Room-by-Room Preparation Checklist
Living Room / Dining Room
- Remove all furniture (sofas, chairs, tables, entertainment center)
- Remove rugs and area rugs
- Remove floor lamps and table lamps
- Take down wall art in the room (vibration from installation can knock things off walls)
- Remove items from lower shelves of bookcases if they are staying in the room
- Disconnect and move electronics
Bedrooms
- Remove all furniture (bed frame, dresser, nightstands)
- Empty closets if closet floors are being done
- Remove rugs
- Strip bedding and store it in another room (dust)
Kitchen
- Remove the refrigerator (or confirm the installer will move it)
- Remove the dishwasher if it sits on the floor being replaced (may require a plumber)
- Clear lower cabinet contents if the installer needs to work near the base of cabinets
- Remove the stove if it is freestanding and sits on the floor being replaced
Hallways and Entryways
- Remove all furniture, benches, and console tables
- Remove rugs and runners
- Clear coat closets and storage areas if those floors are being done
Stairs
- Remove stair runners if present
- Clear the staircase of any items stored on steps
During Installation
What to Expect
Noise: Power saws, nail guns, and sanders are loud. Plan for a full day of construction-level noise.
Dust: Even with dustless sanding equipment, some dust is inevitable. Keep doors to other rooms closed.
Odor: Adhesives and finish products have odors. Waterborne finishes are mild; oil-modified finishes are stronger. Open windows in adjacent rooms if possible.
Access: Your installer will need access to the work area throughout the day. Plan to be home or arrange for someone to be available.
What You Do Not Need to Do
You do not need to supervise the installation or be present in the room while work is happening. A professional crew knows what they are doing — your job is to have the space prepared and be available if questions come up.
After Installation: The First 48 Hours
Hardwood and Engineered Hardwood (Site-Finished)
- 24 hours: No foot traffic at all
- 24–48 hours: Light foot traffic in socks only — no shoes, no furniture
- 72 hours: Light furniture can go back with felt pads on all legs
- 7 days: Heavy furniture can go back
- 30 days: Area rugs can go back; full cure complete
Prefinished Hardwood and LVP
- 24 hours: Light foot traffic in socks
- 48 hours: Furniture can go back with felt pads
- No extended cure period — prefinished products are ready to use much faster
First Cleaning
Wait at least 24 hours before cleaning a newly installed floor. Use a dry microfiber mop or a barely damp mop — no wet mopping, no steam cleaners, and no cleaning products with ammonia or bleach. Your installer will recommend a specific cleaner for your floor type.
Frequently Asked Questions
Do I need to remove baseboards before installation? Not necessarily. Your installer will either remove and reinstall baseboards or install quarter-round shoe molding to cover the expansion gap at the wall. Confirm the approach during your estimate so you know what to expect.
What if I cannot move all my furniture? Talk to your installer in advance. Most crews can work around large or immovable pieces, but it may affect the installation timeline and cost. Some items — like built-in bookcases or kitchen islands — are worked around rather than moved.
How do I protect my new floor from furniture scratches? Apply felt pads to the legs of all furniture before moving it back. For heavy pieces like sofas and dining tables, use furniture sliders to move them into position rather than dragging them across the new floor.
Can I walk on the floor during installation? Generally no — the work area should be kept clear so the crew can work safely and efficiently. If you need to pass through, ask the installer for the safest path.
Does DR.FLOOR help with furniture moving? Yes. We can move standard furniture as part of the installation. Heavy specialty items like pianos and pool tables require separate arrangements. Ask about furniture moving when you schedule your estimate.
Explore Topics
Written by
DR.FLOOR Team
Content creator and writer sharing insights and stories.